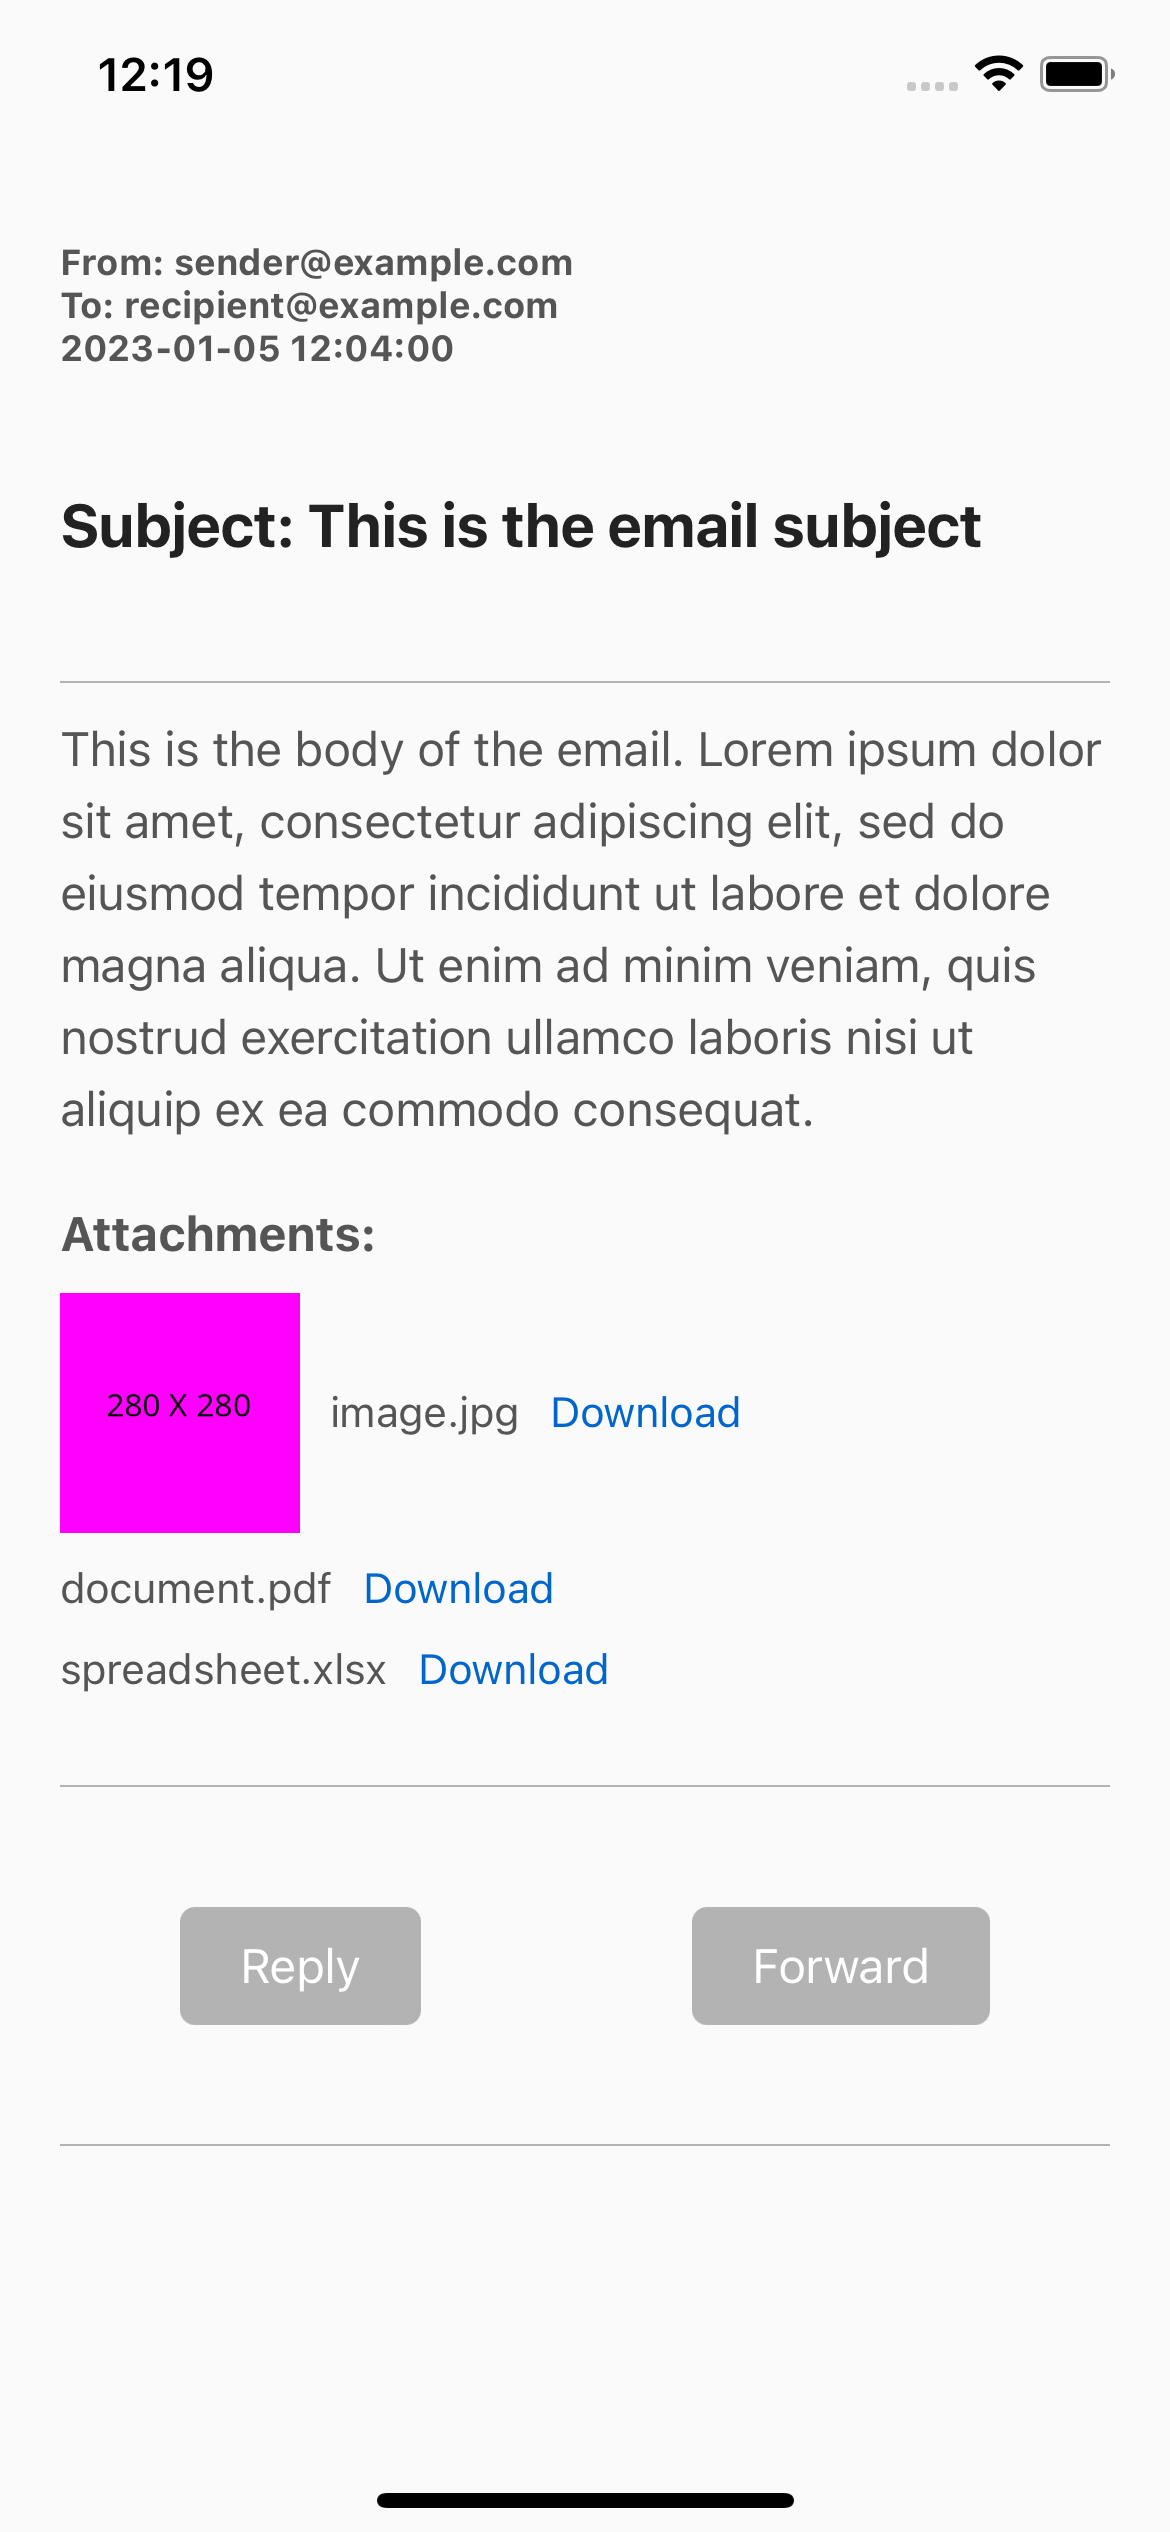
import React from 'react';
import { View, Text, StyleSheet, Image, TouchableOpacity, Linking } from 'react-native';

const EmailView = () => {

  const attachments = [
    {
      name: 'image.jpg',
      image: 'https://www.bootdey.com/image/280x280/FF00FF/000000',
      uri: 'https://www.bootdey.com/image/280x280/FF00FF/000000',
    },
    {
      name: 'document.pdf',
      uri: 'https://www.w3.org/WAI/ER/tests/xhtml/testfiles/resources/pdf/dummy.pdf',
    },
    {
      name: 'spreadsheet.xlsx',
      uri: 'https://file-examples.com/wp-content/uploads/2017/02/file_example_XLSX_50.xlsx',
    },
  ];


  return (
    <View style={styles.container}>
      <View style={styles.header}>
        <Text style={styles.headerText}>From: [email protected]</Text>
        <Text style={styles.headerText}>To: [email protected]</Text>
        <Text style={styles.headerText}>{'2023-01-05 12:04:00'}</Text>
      </View>
      <Text style={styles.subject}>Subject: This is the email subject</Text>
      <View style={styles.body}>
        <Text style={styles.bodyText}>
          This is the body of the email. Lorem ipsum dolor sit amet, consectetur
          adipiscing elit, sed do eiusmod tempor incididunt ut labore et dolore
          magna aliqua. Ut enim ad minim veniam, quis nostrud exercitation
          ullamco laboris nisi ut aliquip ex ea commodo consequat.
        </Text>
      </View>
      {attachments.length > 0 && (
        <View style={styles.attachments}>
          <Text style={styles.attachmentsText}>Attachments:</Text>
          {attachments.map((attachment) => (
            <View key={attachment.name} style={styles.attachment}>
              {attachment.image &&
                <Image style={styles.thumbnail} source={{ uri: attachment.uri }} />
              }
              <Text style={styles.attachmentText}>{attachment.name}</Text>
              <TouchableOpacity onPress={() => handleDownload(attachment.uri)}>
                <Text style={styles.downloadText}>Download</Text>
              </TouchableOpacity>
            </View>
          ))}
        </View>
      )}
      <View style={styles.actions}>
        <TouchableOpacity style={styles.button} onPress={() =>{}}>
          <Text style={styles.buttonText}>Reply</Text>
        </TouchableOpacity>
        <TouchableOpacity style={styles.button}  onPress={() =>{}}>
          <Text style={styles.buttonText}>Forward</Text>
        </TouchableOpacity>
      </View>
    </View>
  );
};


const styles = StyleSheet.create({
  container: {
    flex: 1,
    padding: 20,
    backgroundColor: '#fafafa',
  },
  header: {
    justifyContent: 'space-between',
    marginBottom:20,
    marginTop:60,
  },
  headerText: {
    fontSize: 12,
    fontWeight: 'bold',
    color: '#555',
  },
  subject: {
    fontSize: 20,
    fontWeight: 'bold',
    marginTop: 20,
    marginBottom: 20,
    color: '#222'
  },
  body: {
    marginTop: 20,
    paddingTop:10,
    borderTopWidth:0.5,
    borderTopColor:'#b3b3b3',
  },
  bodyText: {
    fontSize: 16,
    lineHeight: 24,
    color: '#555',
  },
  attachments: {
    marginTop: 20,
  },
  attachmentsText: {
    fontSize: 16,
    fontWeight: 'bold',
    marginBottom: 10,
    color: '#555',
  },
  attachment: {
    flexDirection: 'row',
    alignItems: 'center',
    marginBottom: 10,
  },
  thumbnail: {
    width: 80,
    height: 80,
    marginRight: 10,
  },
  attachmentText: {
    fontSize: 14,
    color: '#555',
  },
  downloadText: {
    fontSize: 14,
    color: '#0066cc',
    marginLeft: 10,
  },
  actions: {
    marginTop: 20,
    flexDirection: 'row',
    justifyContent: 'space-between',
    borderTopWidth:0.5,
    borderTopColor:'#b3b3b3',
    borderBottomWidth:0.5,
    borderBottomColor:'#b3b3b3',
    padding:40

  },
  button: {
    backgroundColor: '#b3b3b3',
    paddingVertical: 10,
    paddingHorizontal: 20,
    borderRadius: 5,
  },
  buttonText: {
    color: '#fff',
    fontSize: 16,
  },
});

export default EmailView;
About this react-native template
This react-native template, View email, was published on Jan 5th 2023, 12:21 by Bootdey Admin and it is free.
We hope you will enjoy this awesome react-native template and stay tuned for the latest updates, we believe it will save your precious time and gives trendy look to your next application.
This template currectly have 3.5K views, Using this react-native template you have the following benefits:
Example Screens
You can jump start your development with our pre-built example, all you need to do is copy the code and execute it, You can also show it to your customers so that they have an idea of the final result.
Cross-platform for mobile development
This template was developed for Android and iOS.
Simple Integration
This template can be simply integrated on existing projects and new ones too, all you need to do is copy the code and start working.
Fully coded view
this is a functional example, You will save a lot of time going from prototyping to full-functional code.
